Fix: iCloud and iMessage Accounts are Different

If you’re one of the many Apple users that received the iCloud and iMessage accounts do not match’ error, you’re in the right place.
No need to worry, however, because this issue can be fixed easily, and we’ll show you how in the article below.
Apparently, this issue seems to be happening to Apple users who have multiple Apple IDs for iCloud and iMessages connected to their phones, and consequently, the iCloud and iMessages apps are connected to different accounts.
As we mentioned, this issue is solved easily and quickly.
In several different cases, the issue was on Apple’s end, and it occurred to users that had only a single Apple ID, and the problem got fixed by itself in less than 24h.
However, once this error shows up, you’ll be unable to use your iMessage app for some time, since the messages won’t be going through.
In case you don’t feel like waiting for 24 hours to see if the issue resolves automatically, you’ll need to switch to the same Apple ID for iMessages and iCloud.
Check out our articles about iPhone 12 not turning on.
How do I connect the same Apple ID?
As we mentioned, both your iCloud and iMessages need to be connected to the same Apple ID (email address) in order for the issue to be removed.
To do so, follow these steps:
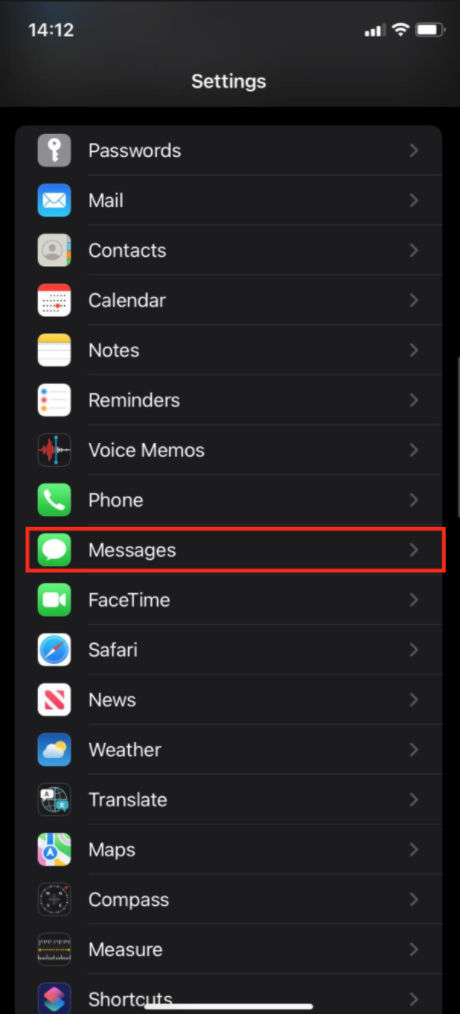
- Open the ‘Settings’ app on your iPhone/iPad.
- Tap on your Apple ID at the top of the screen.
- On the following screen, check the email address linked to your Apple ID under your name and last name.
- Go back to the ‘Settings’ page, and scroll down until you see iMessages, where you’ll need to check the iMessages Settings.
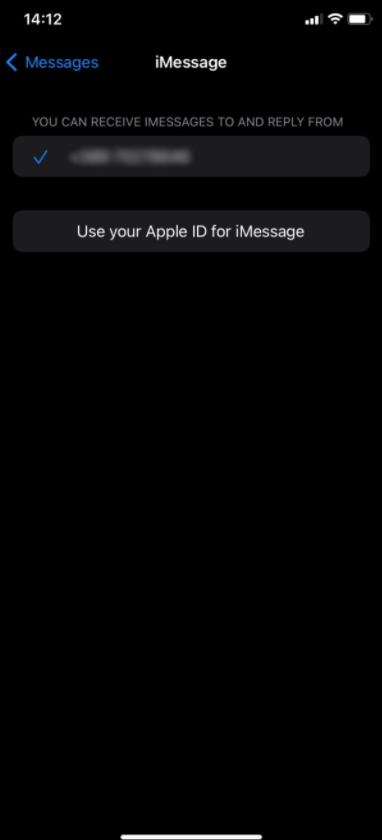
- Click on the ‘Send & Receive’ option, and on the following screen you’ll see two addresses.
- You’ll need to select the one that is connected to iCloud, and sign out of the other one.
- To sign out, tap on the Apple ID that is not connected to iCloud.
- In the pop-up with a list of options, tap on ‘Sign Out’ to remove the unwanted Apple ID.
- After signing out, you’ll be able to either connect your phone number, or your Apple ID. Click on ‘Use your Apple ID for iMessage.’
- Another pop-up will show up, requiring you to sign into your account.
After finishing these steps, the same Apple ID will be connected to both iCloud and iMessage, and it will ultimately help you get rid of the error message you were receiving.
👉 Read also: How to Add Messages to Home Screen