How to Undelete Notes on iPhone
-(2)-profile_picture.jpg)
Key Points
To undelete a note that has been deleted in the past 30 days:
Open the Notes app on your iPhone > tap on the ‘back arrow’ > tap on the ‘Recently Deleted’ folder > tap on ‘Edit’ > select a note you want to recover > select ‘Move’ at the bottom of the screen > select 'Notes' as destination folder to restore the note.
To undelete a note that has been deleted longer than 30 days and backed up in iCloud:
Open settings on your iOS device > Tap on your Apple ID > tap on ‘iCloud’ > turn the toggle next to 'Notes', and any notes stored in your iCloud account will be downloaded to your iPhone.
You can also restore notes on your iPhone from the iCloud account on a web browser, in your email account settings and by restoring an iPhone backup from iTunes or iCloud (not recommended solutions)
The Notes app is a super handy app where you can write notes, to-do lists, shopping lists, reminders, memories and so much more. When you have written a lot of notes, you might want to clean up your notes and delete some unnecessary records. But sometimes, you might delete notes accidentally on your iPhone. Or, your iPhone Notes disappeared all of a sudden.
Don’t panic – The good news is there are several ways you can undelete, or recover deleted notes.
Check out the post below to learn how to recover deleted or lost notes on an iPhone.
How to recover deleted notes on an iPhone from the ‘Recently Deleted’ folder
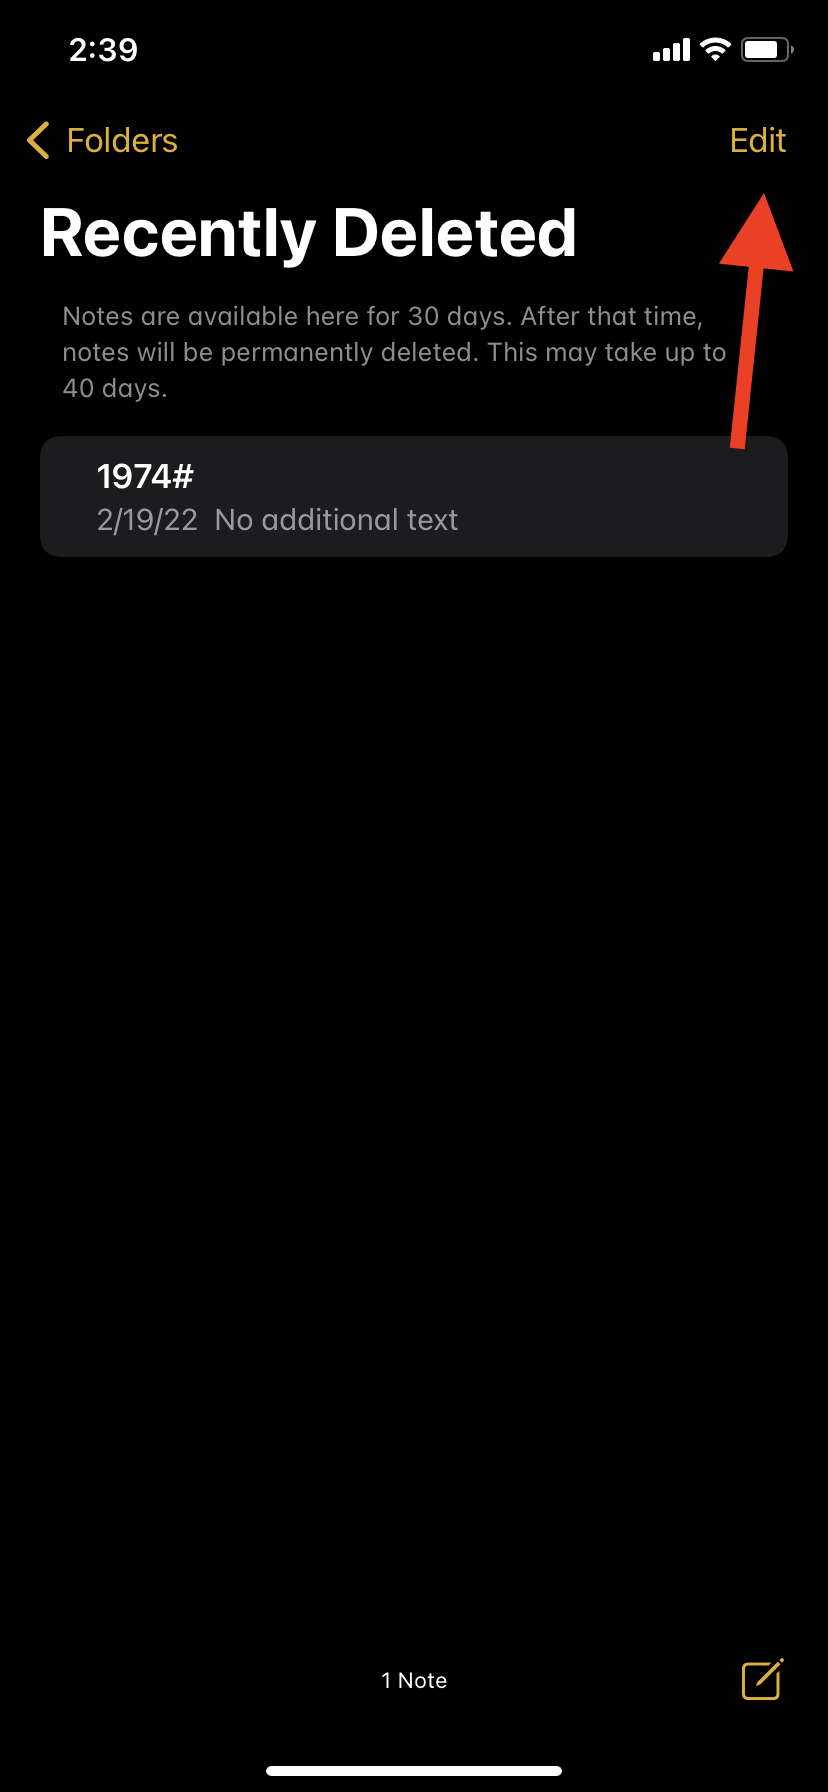
You can use the ‘Recently Deleted’ folder in the Notes app to recover iPhone notes if they’ve been deleted in the past 30 days. After this period, notes are permanently deleted from your iPhone, which may take up to 40 days.
- Open the Notes app on your iPhone.
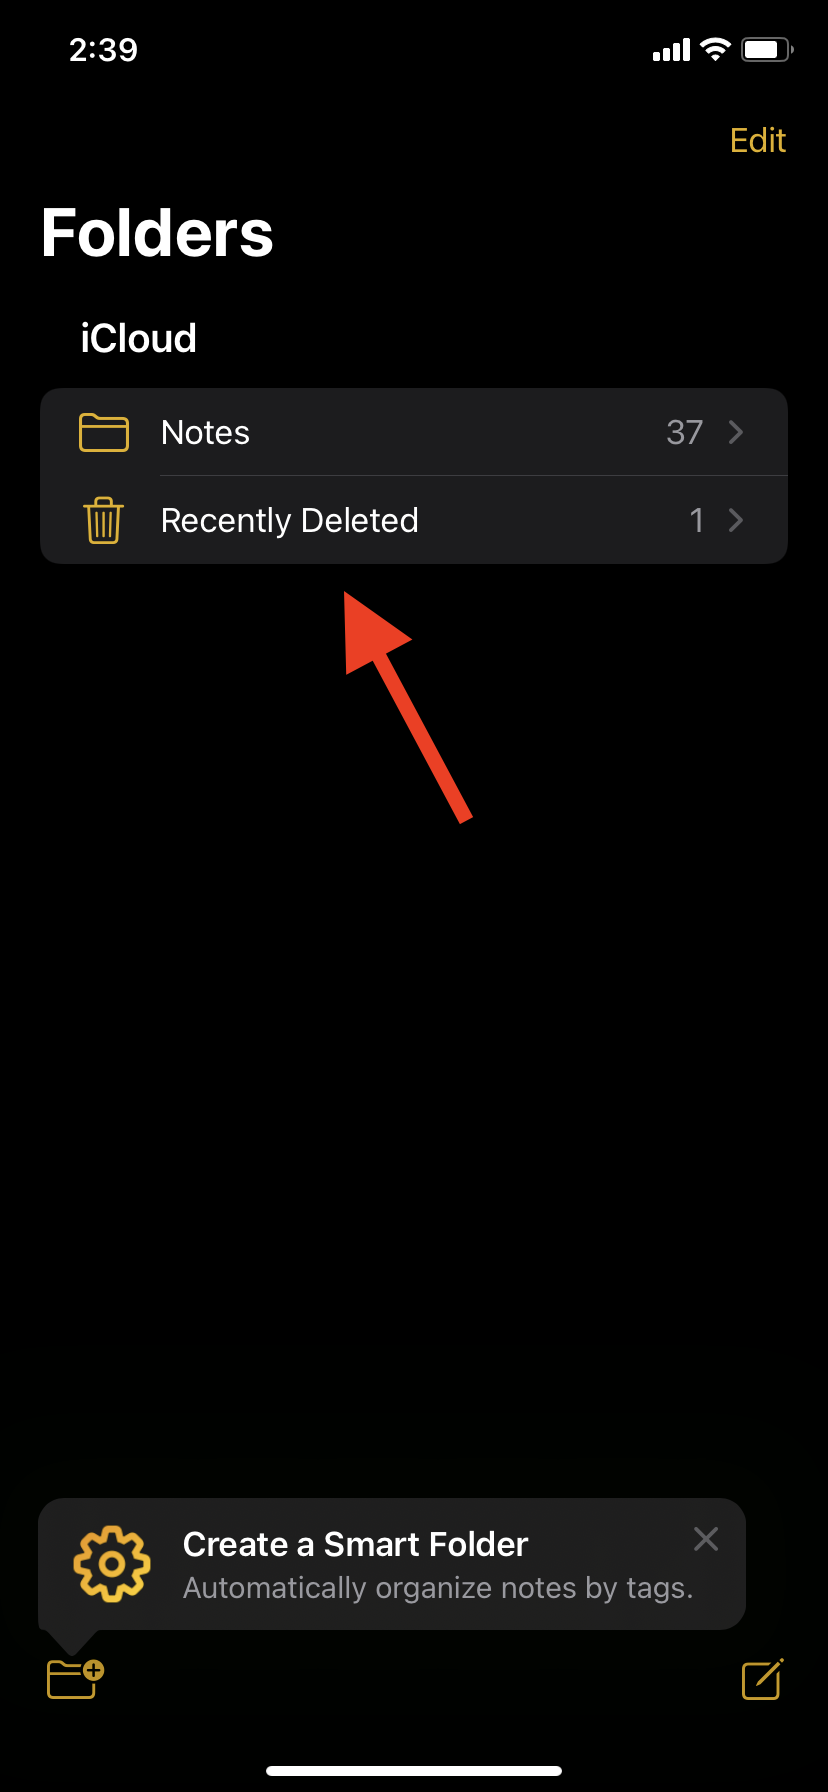
- Tap on the ‘back arrow’ in the top-left corner to go to the Folders menu.
- Tap on the ‘Recently Deleted’ folder.
- Tap on ‘Edit’ in the top-right corner on the Recently Deleted screen.
- Tap on the circle next to the notes you want to undelete.
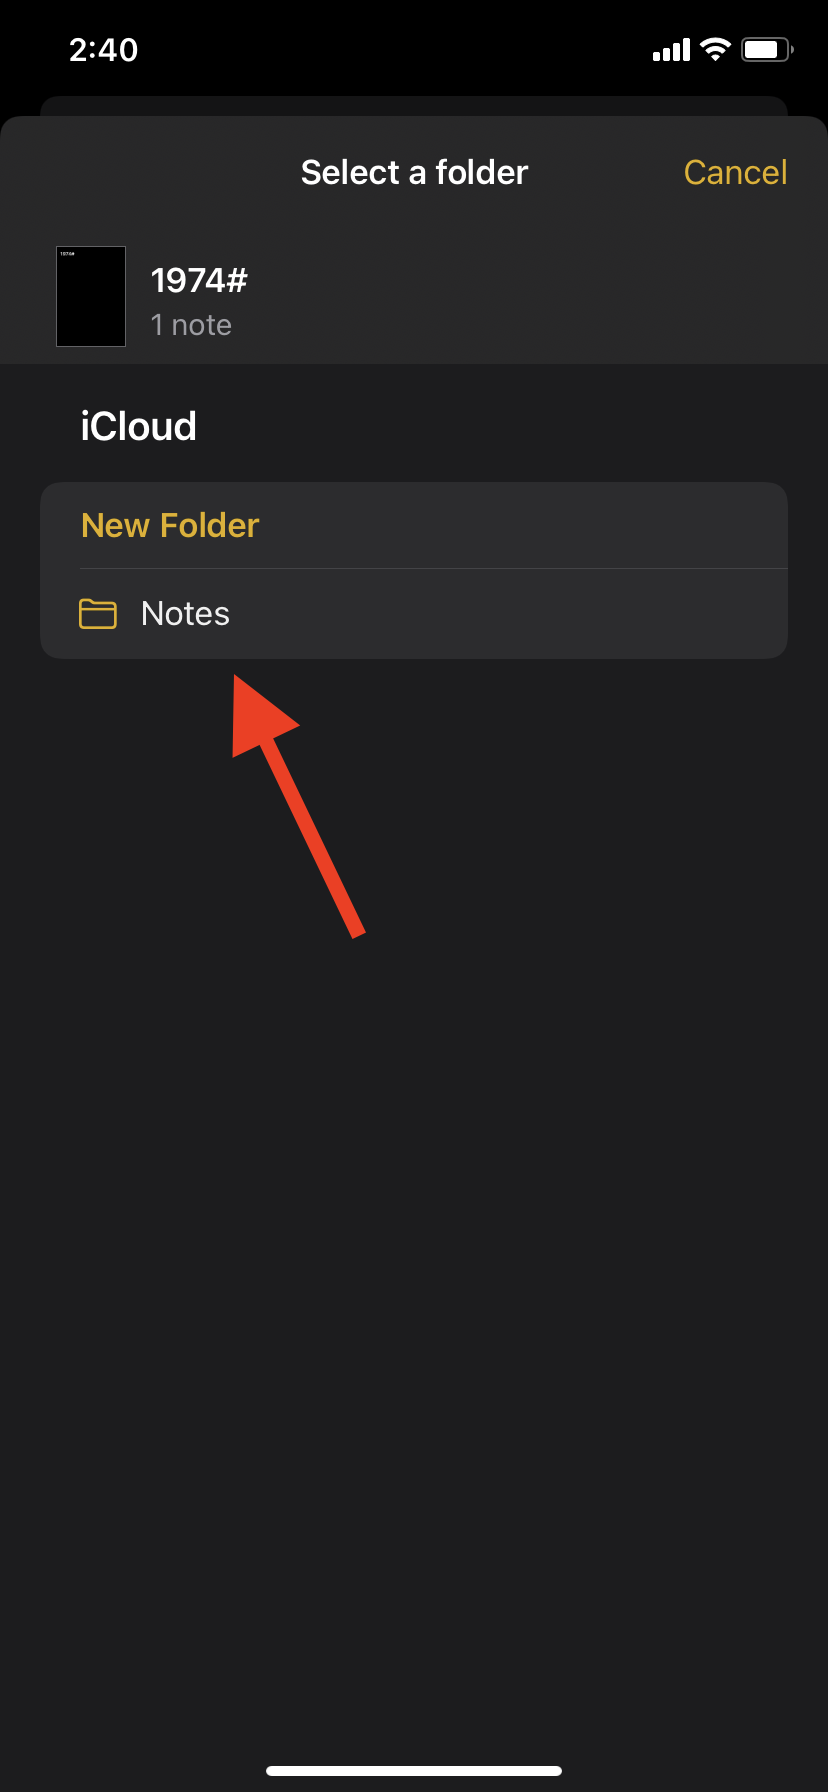
- Select ‘Move’ at the bottom of the screen.
![]()
- Select a destination folder to restore the notes to - Notes.
Keep in mind that this method only works if the Note was recently deleted (in the last 30 days) and that it’s not deleted from the ‘Recently Deleted’ folder.
However, even if this is not the case, there are more ways to undelete Notes on the iPhone. If you have backed up your iPhone to iCloud, the chances are the delete note will be in one of the backups.
Check out also how to upgrade Notes on iPhone.
How to recover deleted notes on an iPhone from iCloud
If your notes have been permanently deleted, you can recover them from iCloud on your iPhone. First, make sure you’ve regularly backed up your iPhone to iCloud and stored your Notes there.
Next, check that your Notes are backed up to iCloud:
- Open settings on your iOS device.
- Tap on your Apple ID.
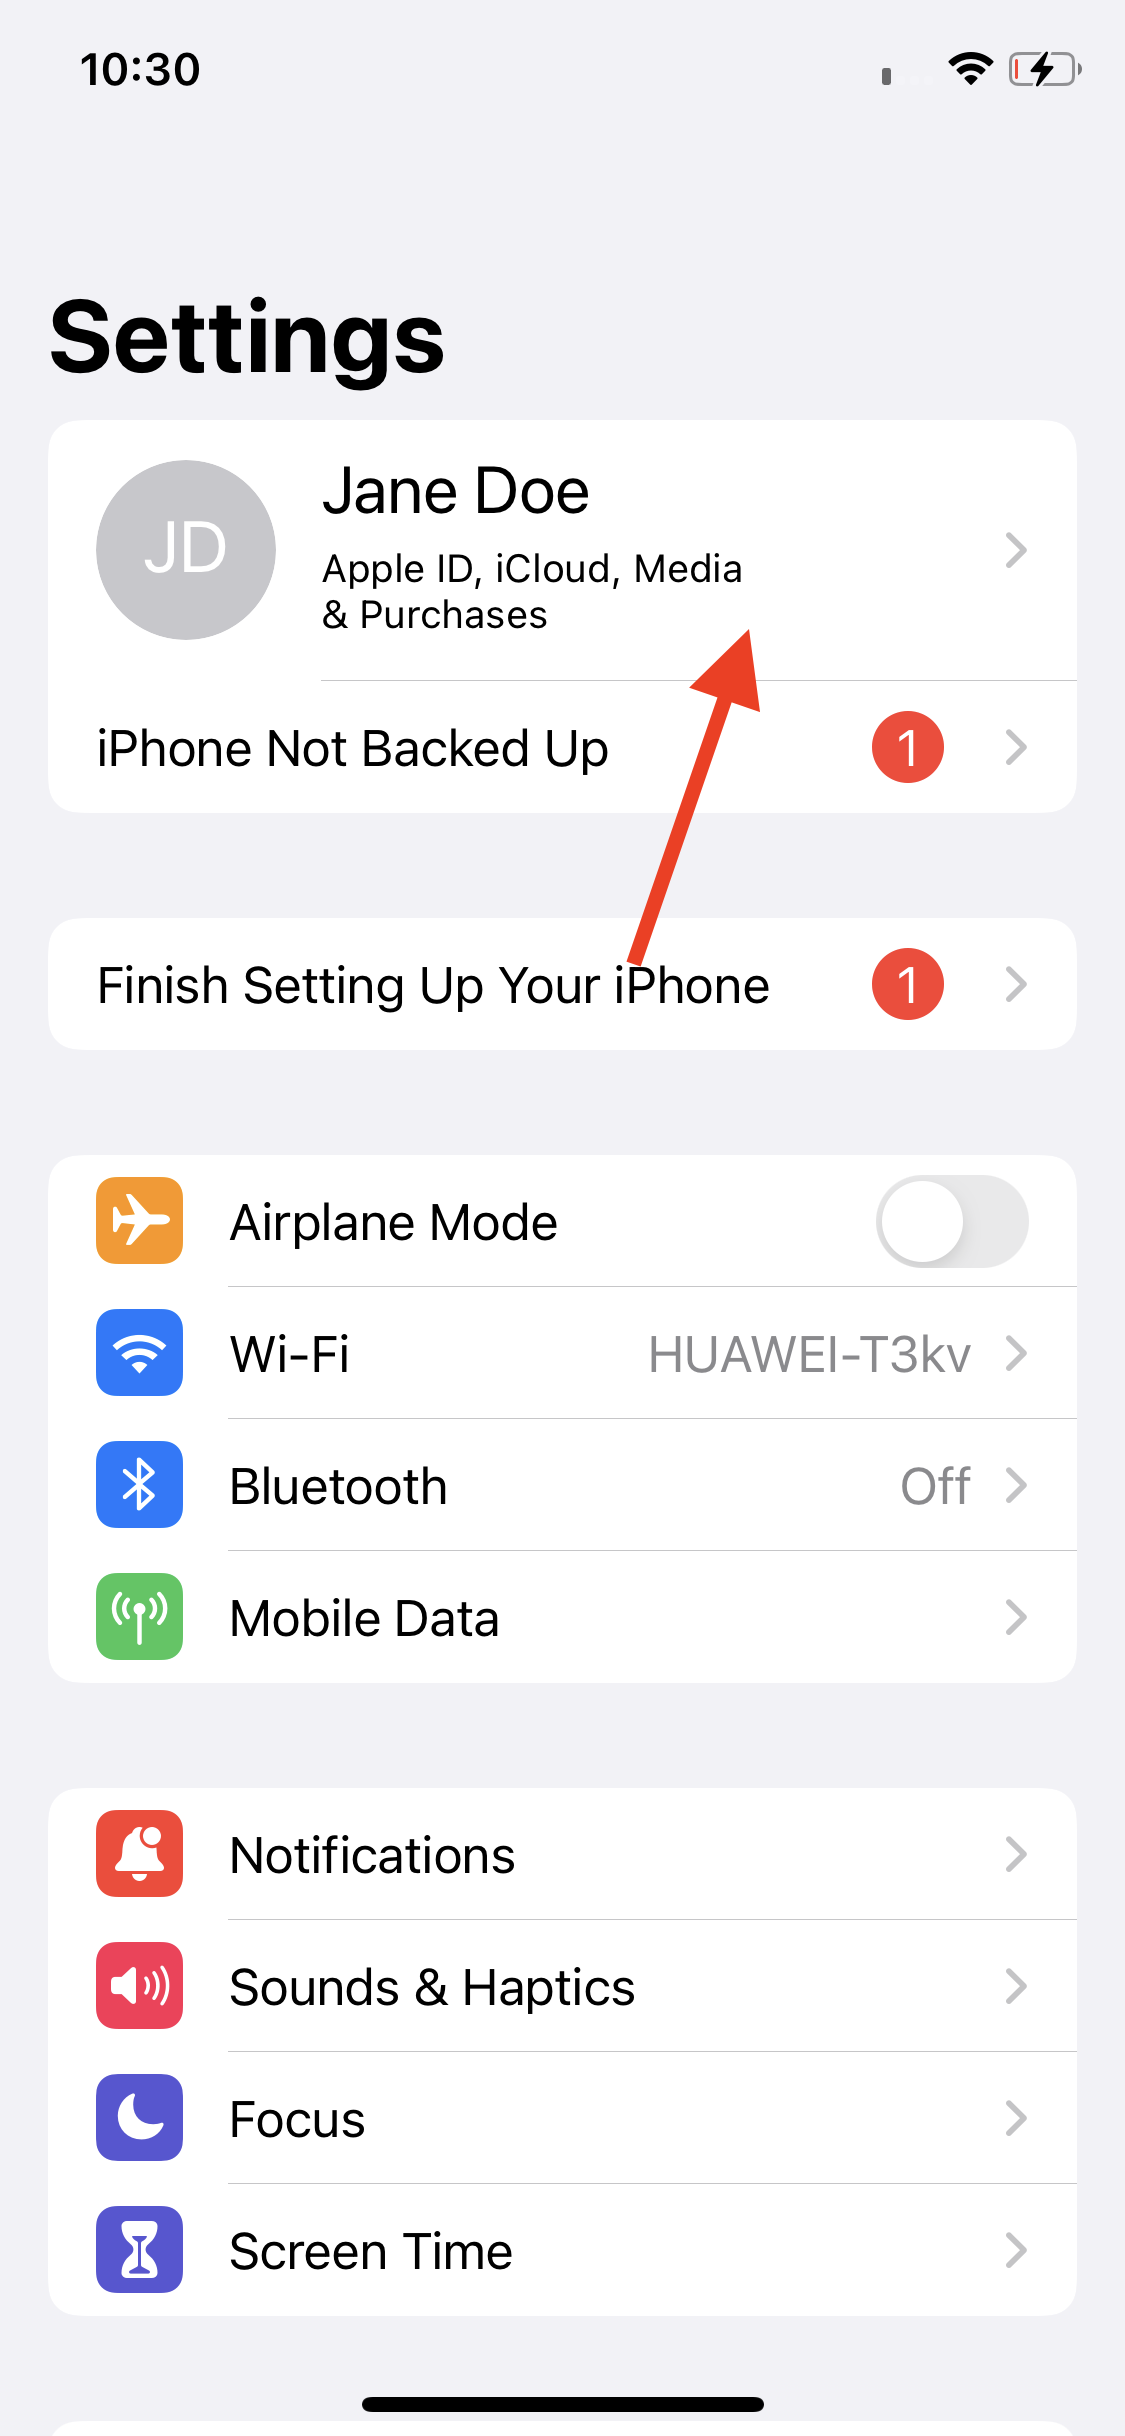
- Tap on ‘iCloud’.
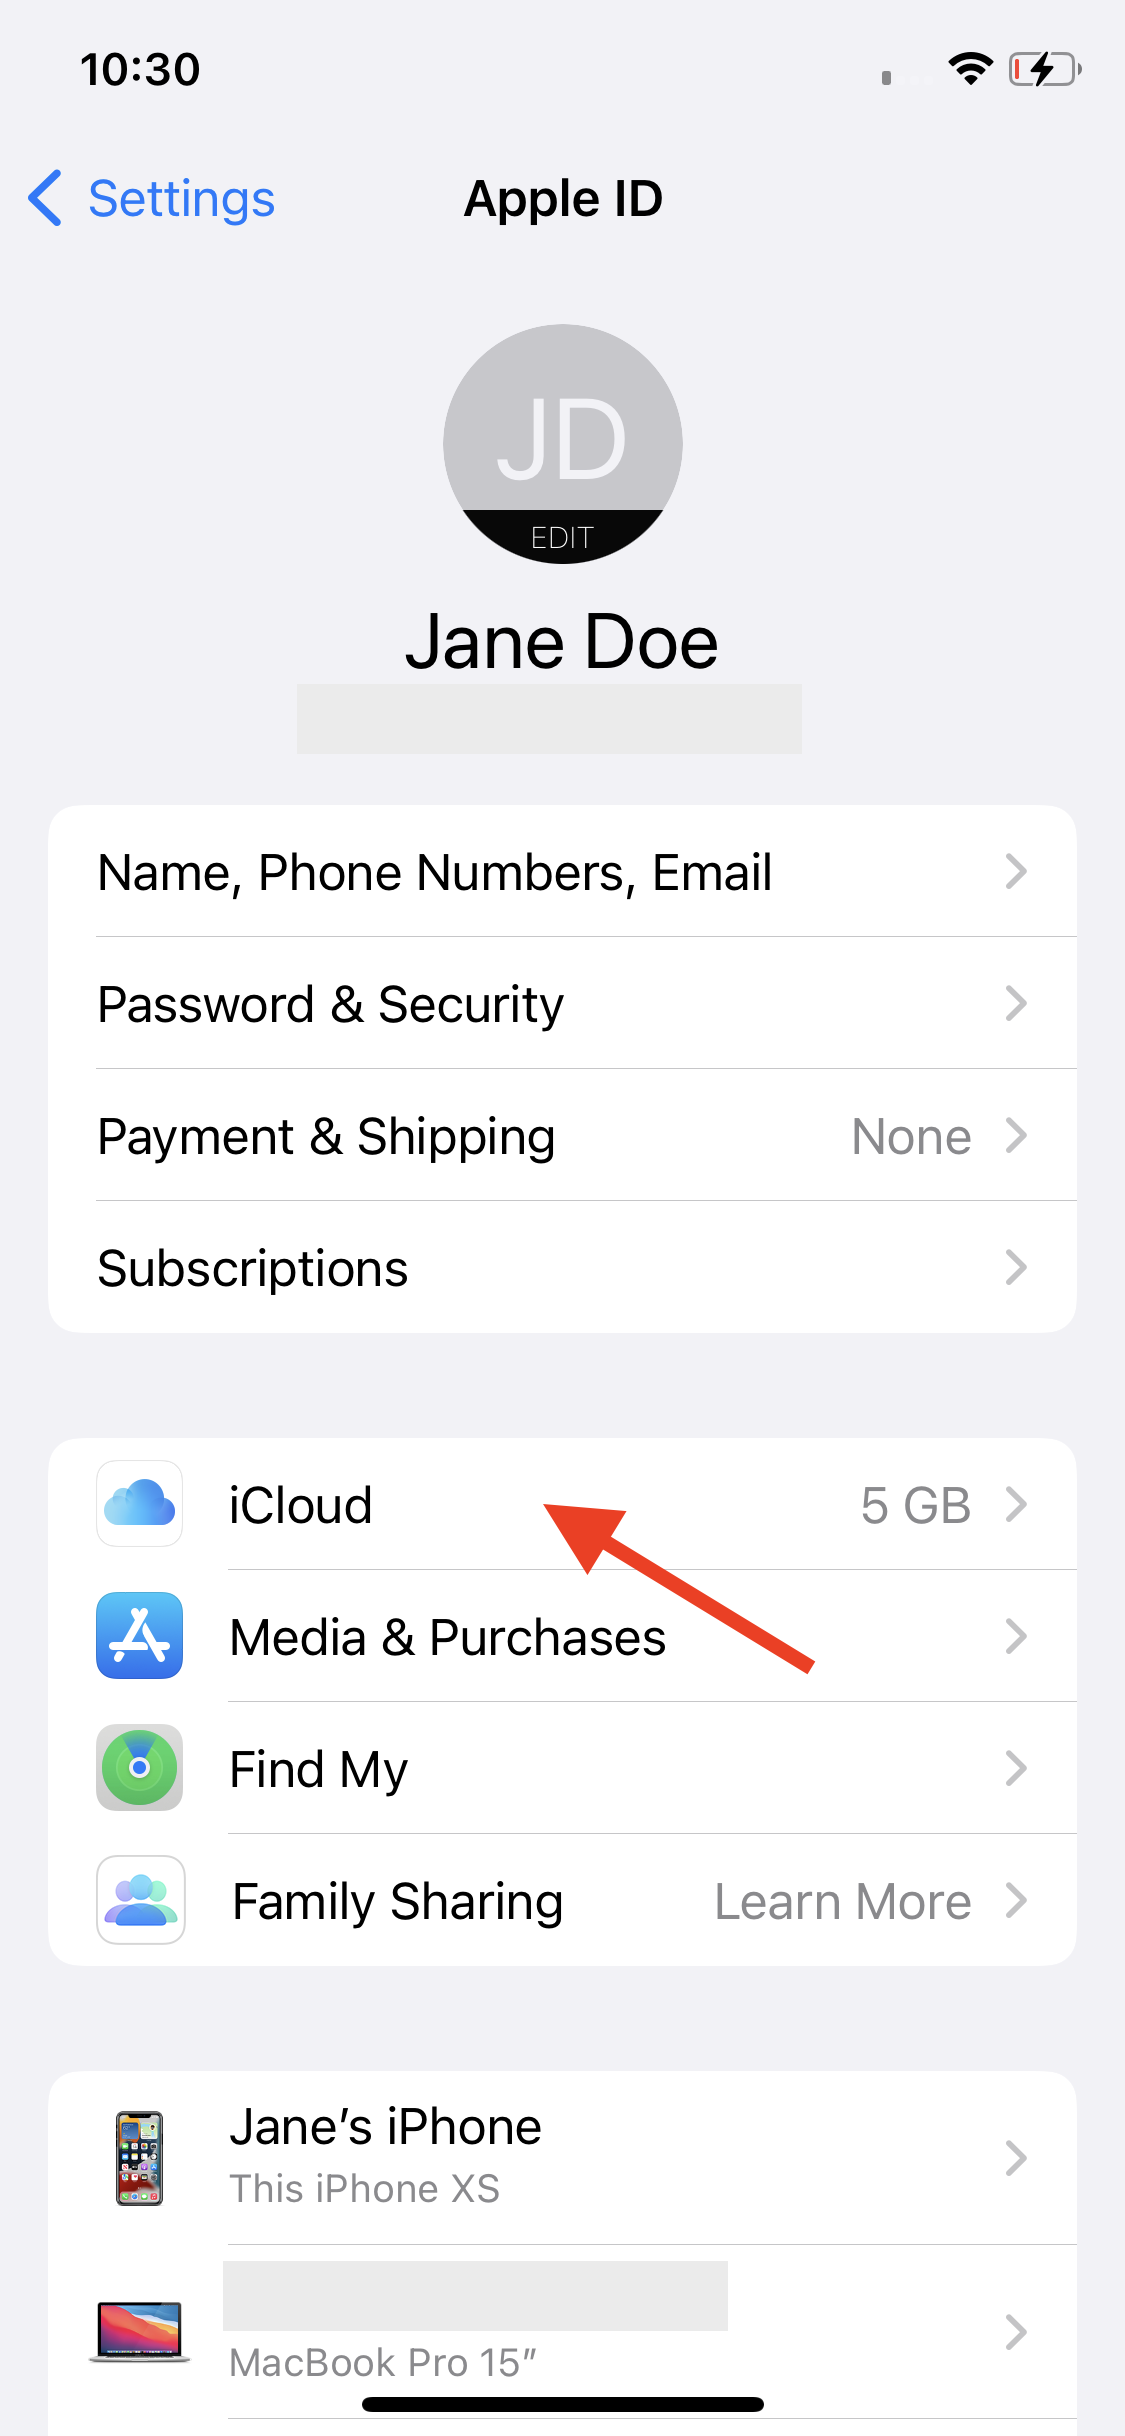
- Make sure the toggle next to Notes is on, which means your Notes are backed up on iCloud.

- If it’s not, turn the toggle on, and any notes stored in your iCloud account will download to your iPhone.
How to recover deleted iPhone notes from an iCloud account on a web browser
You can also try to undelete notes from your iCloud account from a web browser.
- Open iCloud on a web browser and log into your account.
- Click on the ‘Notes’ folder on the home screen.
- On the next page, click on ‘Recently Deleted’ in the left panel.
- Here you should see your deleted notes if they have been backed up.
- Select the notes you want to restore and click on ‘Restore’ at the top of the screen.
You can save the recovered notes to your computer or take screenshots with your device.
After you recover your notes, you can save them to your computer or use your device to take screenshots.
How to recover deleted notes on an iPhone in your email account settings
If you deleted an email address, such as Gmail address, from your iPhone and if you used it to back up Notes, this might have caused your notes to disappear.
If you are using another email account to backup your Notes, ensure everything is set up in your account settings, and that apps are properly backed up on your account.
- Open Settings on your iPhone.
- Tap on ‘Mail’.
- Go to ‘Accounts’.
- Tap on the email address you use for backup.
- Make sure the toggle next to ‘Notes’ is on. If it isn't, turn it on and see if your missing notes appear in your app.
Note: If you changed your email password on another device, but didn’t update it on your iPhone, the notes associated with your account may not update. Make sure to change or update your password in your iPhone settings.
How to recover iPhone notes using iTunes or iCloud backup
If you couldn’t locate your deleted notes with any of the methods above, you can restore your iPhone backup from iTunes.
Note: Use this method as a last resort or if you want to transfer all your data from an old iPhone to a new one. This method will overwrite the data currently on your iPhone with the backup data.
However, if you still want to proceed with this method, follow the steps below:
- Open iTunes on your computer.
- Connect your iPhone to the computer using a USB cable.
- Then, click on the iPhone icon to go to iPhone Summary.
- In the Backups section, click on ‘Restore Backup’.
- Select the backup you want to use and click on ‘Restore’ If you have several backups.
- Enter your Apple ID information to start the backup restoration.
If you use iCloud to back up your data, this is how to restore an iPhone backup. This process also erases all your iPhone data and replaces it with a backup from iCloud.
- Open Settings on your iPhone.
- Tap on General.
- Scroll down and select ‘Reset’.
- Tap on ‘Erase All Content and Settings’.
- Tap on ‘Erase Now’ to confirm.
- Enter your passcode.
- Tap on ‘Erase iPhone’ and confirm.
- Enter your Apple ID password and tap on ‘Erase’.
- Wait for the backup process to complete.
- When the iPhone turns on, sign in to iCloud with your Apple ID.
- On the Apps & Data screen, tap ‘Restore from iCloud Backup’.
- Select a backup and follow the instructions to complete the restore process.
Depending on the size of your data, the backup process should finish in a few minutes up to several hours.
Explore how to fix it if your iPhone storage is not loading.