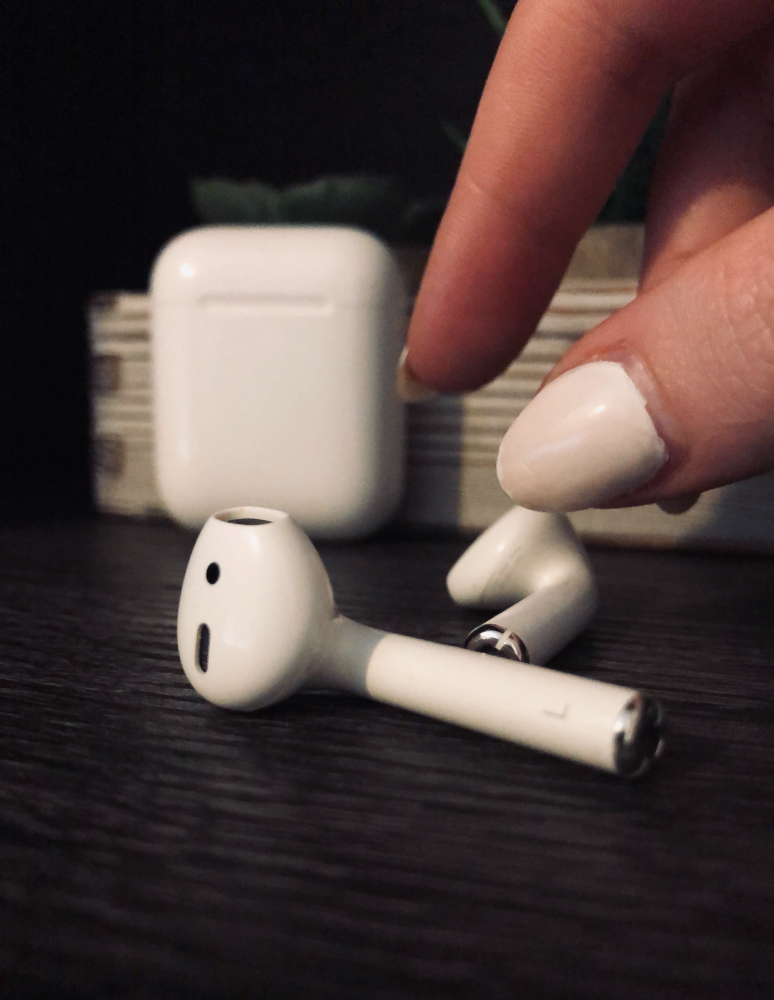
How to Connect Replaced AirPod
When you replace an AirPod or AirPod Pro, it won’t work with the old AirPod right out of the box. You’ll need to pair the replaced AirPod with the existing one and sync them. In this post, we’ll show you how to connect a replaced, sync and pair a replaced AirPod.
Connecting a new AirPod is really easy and you can do it on iPhone, iPad, or iPod Touch.
Can you use two different AirPods together?
Before getting a new AirPod, try using the ‘Find My’ app on your phone to locate the missing one. However, if the AirPod doesn’t have enough battery life to play the sound, or you had no luck finding it, you can get a new one from Apple.
Luckily, you can use two AirPods together even if they didn’t come in the original pair.
Keep in mind though that in order to use the different AirPods together, they need to be the same type and generation to be able to connect and work. So, you can’t use an AirPod 1 and AirPod 2, or one AirPod 2 and one AirPod Pro.
How to connect replacement AirPod
To connect your new AirPod to the existing one, you need to reset the original one in order to pair it with the new one and make them work.
When you reset the old and the new AirPods, they become a matched pair, and then you can connect your AirPods to your iPhone.
Resetting turns the old and new AirPods into a matched pair, and you can then connect the AirPods to your iPhone or Mac.
To connect a replaced AirPod to the old one:
- Place the new AirPod and the old AirPod in the charging case and close the lid.
- Connect the charging case to a power source and charge the AirPods for about 15 minutes.
- Open ‘Settings’ on your iPhone or iPad.
- Tap on ‘Bluetooth’.
- Under the ‘My Device’ section, tap on the ‘i’ icon next to AirPods.
- Tap on ‘Forget This Device’.
- In the pop-up message, tap on ‘Forget Device’.
- Then, open the lid of the charging case and check to make sure the indicator light flashes amber.
Quick tip: If the light doesn’t flash, make sure the case is charged or plugged in. Then remove the AirPods, put them back in and make sure they are fully inserted.
- Press and hold the setup button on the back of the charging case until the indicator light starts flashing white.
Quick tip: If the light doesn’t turn white, plug the charging case into a power source, close the lid, and press and hold the button on the back of the case for a few seconds. When the light starts flashing white, release the button and open the lid.
- Go to the home screen on your iPhone or iPad.
- Hold the case near your iPhone or iPad and you should see an animation asking you to connect your AirPods.
- Tap on ‘Connect’ to pair the AirPods with your iPhone or iPad.
- Tap Skip > Not Now > Done.
And that’s it! Now your replacement AirPod will work with your existing one as a matched pair.

Why can’t I connect my replacement AirPod?
If you did the steps above and still have issues with connecting your replaced AirPod, again put the old AirPod in the charging case together with the new, reset them both and pair them with your iPhone.
If the replacement AirPod still can’t connect, you can try resetting your AirPods:
- Disconnect the replaced AirPods from your mobile device.
- Put your AirPods in the charging case and leave it closed for at least 30 seconds. After that, open the charging case.
- Press and hold the setup button until the indicator light starts flashing amber.
- Reconnect your AirPods to your iPhone.
The replacement AirPod still can’t connect to your phone, it may have firmware preventing it from connecting. If this is the case, contact Apple for help or take your AirPod to the Apple Store.
Bonus: You might also like to read how to check AirPod battery on Android.
You might also find these articles interesting:
-(2)-profile_picture.jpg)
