How to Access Snapchat Story Studio App Features

A few days back, the social media platform Snapchat introduced the Story Studio app, enabling creators to improvise more with advanced and engaging video content while using the tools for frame-precise trimming, splitting, etc.
Important info: For iOS users, Story Studio is available only to those using an iPhone with an A12 processor or later and iOS 14.7 or later and the oldest generation of iPhones that are supported are iPhone XR and XS.
Also, at this point, the Story Studio app is still not available for Android users.
Read below to check out what this app has to offer.
How to get started with Story Studio
- Download the Story Studio app, as you would usually download any other app.
- Once you launch it on your iOS device, use your Snapchat credentials to log in.
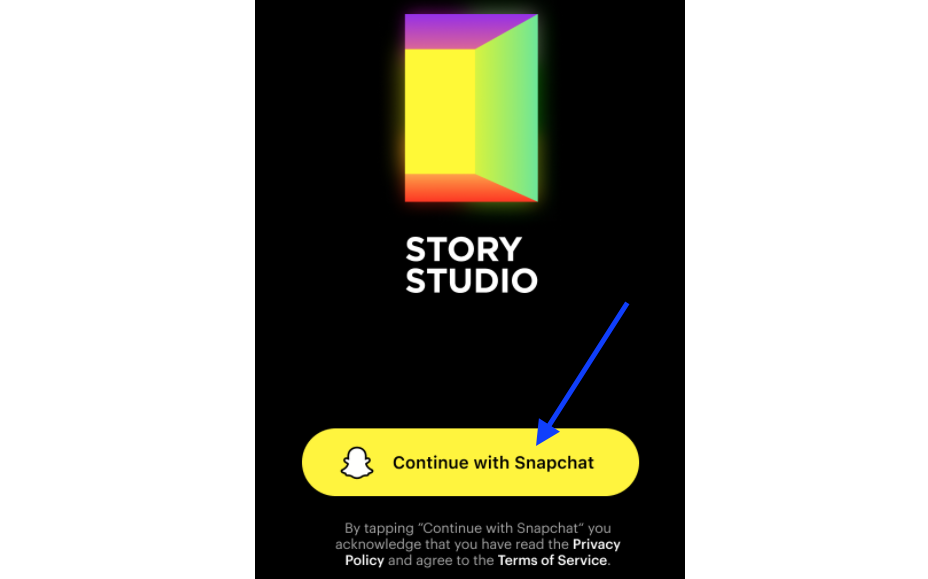
- After the app is launched, tap on ‘Continue with Snapchat’ in order to be redirected to Snapchat or snapchat.com and to log in or create an account if you don't have one.
- Next, you need to approve Story Studio’s access to your Snapchat profile.
After that, you will be redirected back to the Story Studio home screen. - You will see your Bitmoji avatar appear in the top-left corner of your screen. Tap on the avatar.
- Then, a new window will open, labeled as About screen. Tap on ‘I Have a Suggestion’ to give feedback on how to improve Story Studio, or ‘I Spotted a Bug’ if you want to report a problem, or tap on ‘I Need Help’ to learn how to use Story Studio.
How to manage and create your projects
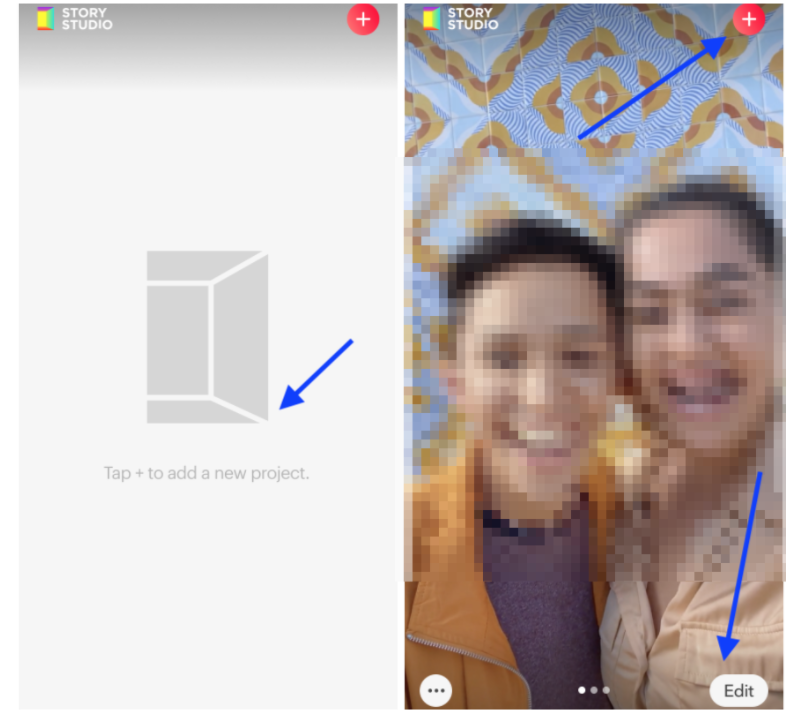
- From the home screen, you will also see a full-screen carousel of projects that you’ve worked on. Swipe horizontally to look through those past projects.
- Tap on the bottom left button to delete or duplicate active projects or tap on ‘View all’ to see all of your projects.
Explore also how to pick a color from a picture on Snapchat and customize your snaps.
How to access the editing tool options in Story Studio
- Once you tap on the Create button in the top-right corner of your screen to create a new project, it will be opened in the Editor where you will see lots of tools to create good quality video projects. They will be automatically saved as you work on them.
- To return to your Home screen, tap on the ‘Close’ button that is in the top-left part of the screen.
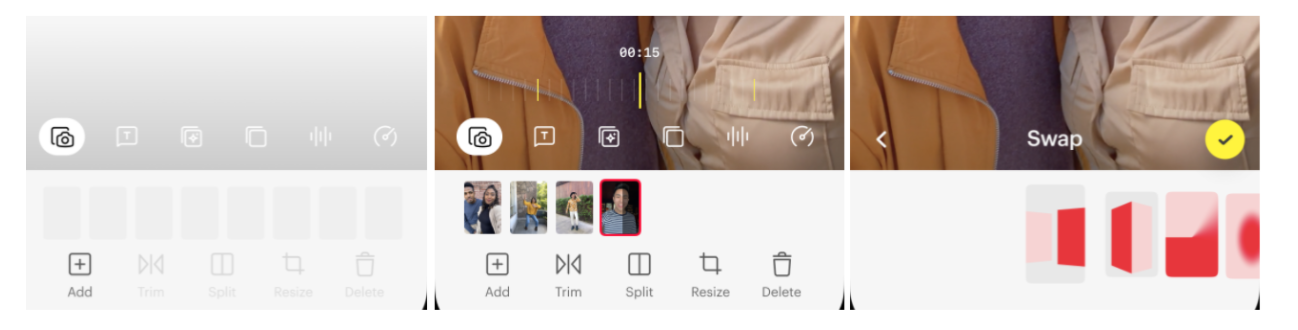
- After you create a new project, you will be advised to add videos or images from your phone’s camera to the Timeline. Those files will be immediately previewed in the canvas at the top section of your home screen and at the bottom of the canvas, you will see a toolbar.
- Scroll it horizontally to use the tools in the toolbar, if you want to add layers, captions, lenses or other elements to your video.
- Next, tap on the canvas to start the playback and to preview what you have uploaded. Once your uploaded video playback starts, the Toolbar and the Close button will be temporarily hidden and you will see how your video will look like once it is published.
- Then, tap on the canvas once again to pause the playback and reveal the hidden elements such as Toolbar and Close button.
- Also, when the video is on pause, you will see a Scrubber on the toolbar. If you want to navigate your video forwards and backwards, drag horizontally on the canvas that is above the Toolbar. When you do the dragging, a playhead and time code will appear to show what section of your project you are previewing.
- Once your video playback is active, you can press-and-hold to temporarily pause the playback so that the Scrubber shows up.
- To explore what each tool in the Toolbar has to offer, tap on the ‘Tool icon’.
What is the Timeline feature in Story Studio offers
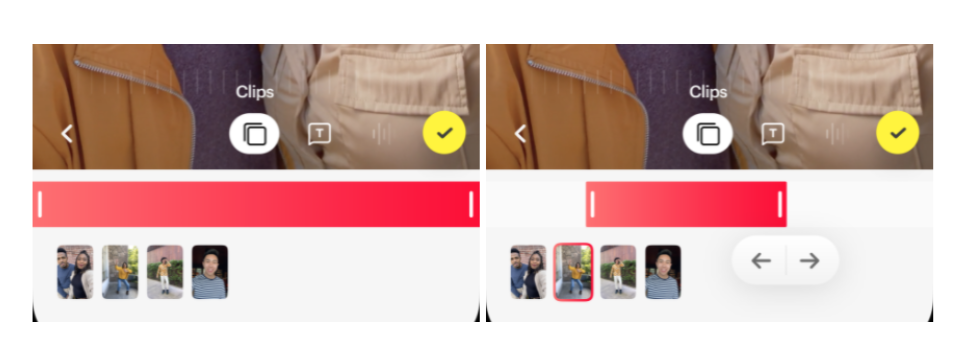
The Timeline feature in Story Studio is actually the main sequence of videos and images when creating a project and it allows you to add, delete, reorder and edit the media as you want. Also, it offers you layers of images or videos that will appear on top of your main timeline and there are captions that can be used to style text elements.
That is not all. his feature also offers an audio tool that enables you to add audio tracks to your project, as well as a Lens tool that allows adding visual effects to your timeline media and a Speed tool that allows speeding up or slowing down specific parts of your project timeline.
- Timing control feature
The Timing feature enables you to specify when exactly the creative elements that are available in the Layer, Caption, Audio, Lens and Speed tools, can be active in your project. You will notice a pair of handles that represent the start and stop. If you move the left handle to the right side, this will cause the element to start later in the project and if you move the right handle to the left, it will cause the element to stop earlier in the project.
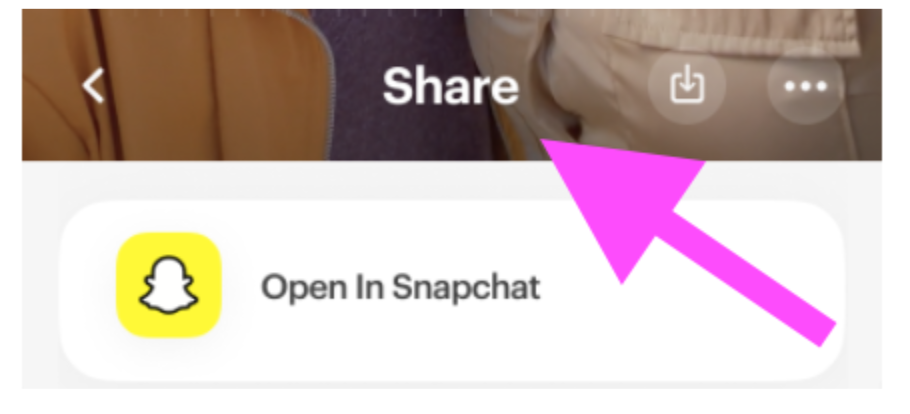
How to access the Share button feature
The Share button in Story Studio will appear in the top-right corner of the Editor Screen and tapping on it will bring you to the Share screen.
Note: Projects can have a duration of 60 seconds and if they are longer than that, the Share button will be disabled. You can reduce the duration by trimming your videos in your timeline or you can apply speed elements to play your video faster. Also, Story Studio accepts videos that are 1080x1920p.
Where to access Snapchat sounds in Story Studio
You can do this by adding sounds from Snapchat. To access this feature, while you are editing one of your projects in Story Studio, you can tap on the Audio icon in the toolbar and Add and then on Sounds.
So now that you know about Story Studio features, you might as well check out other Snapchat features such as how to put dark mode on Snapchat. Also, if your want to save your Snapchat memories on your desktop, you can also check out our blog post for that.
You might also find these articles interesting: