How to Add Music to Facebook Post - 2024

Written by Emilija Anchevska Social Media / Facebook
As short musical videos gain traction, social media platforms, including Facebook, are trying to find ways to enable users to add music to most of their content.
Following Instagram’s footsteps, Facebook added Reels, for users to be able to watch and create short and engaging videos on both platforms.
But the fun doesn’t stop here.
Users can add music to their Facebook posts as well!
In fact, Facebook introduced this feature even before Reels was released, but some users are still unaware of it.
Adding music to Facebook photos means no one has to film themselves dancing and edit their videos to create an engaging and entertaining post.
All users need to do is tap on the music icon and choose a song, just as they do when creating Instagram stories.
Creating a musical post on Facebook is super easy, so take a look at the screenshots below to learn where to find this feature, select a song, and post the ‘music photo’ to your Facebook account.
How to add music to a picture on Facebook
Adding music to a picture on Facebook is available only via mobile.
Follow the steps below to learn how to post pictures with music on Facebook.
- Log in to your Facebook profile.
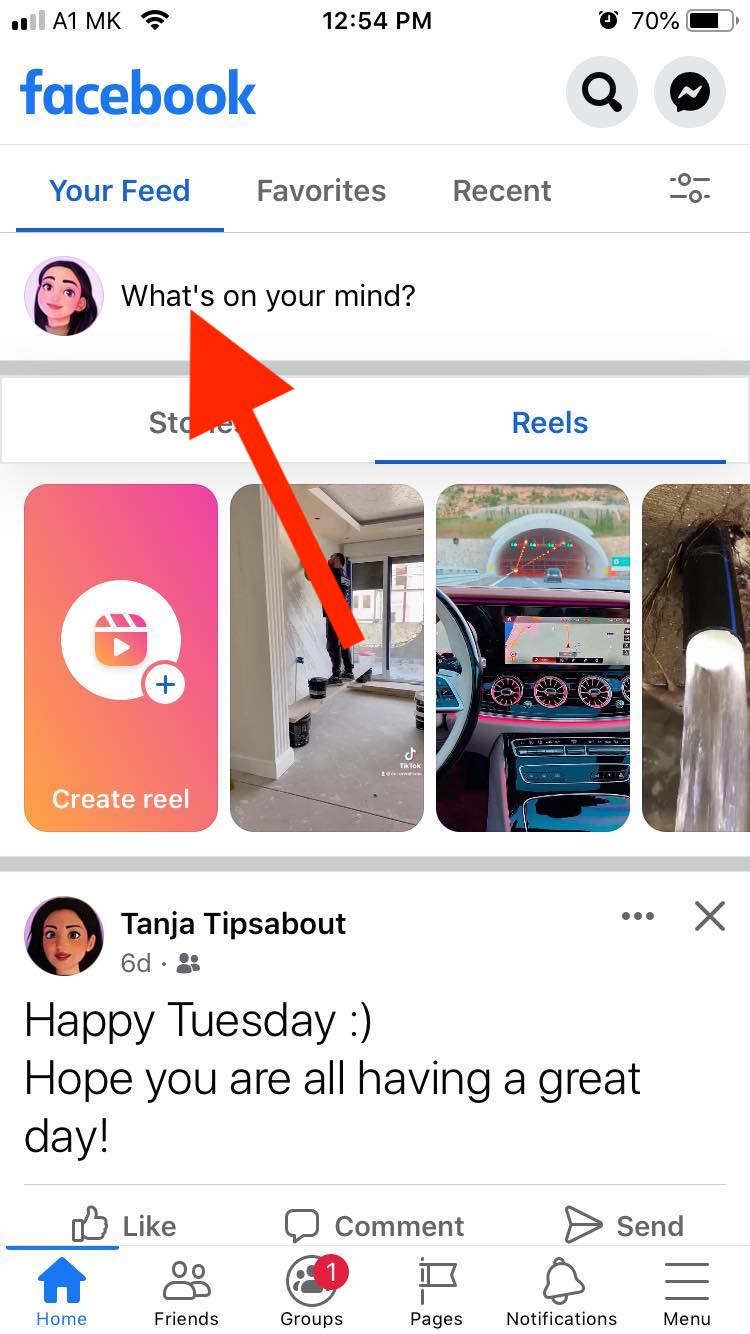
- Tap on the ‘What’s on your mind option’.
- Tap on the image icon and select the image that you want to post.

- Tap on ‘Edit’.
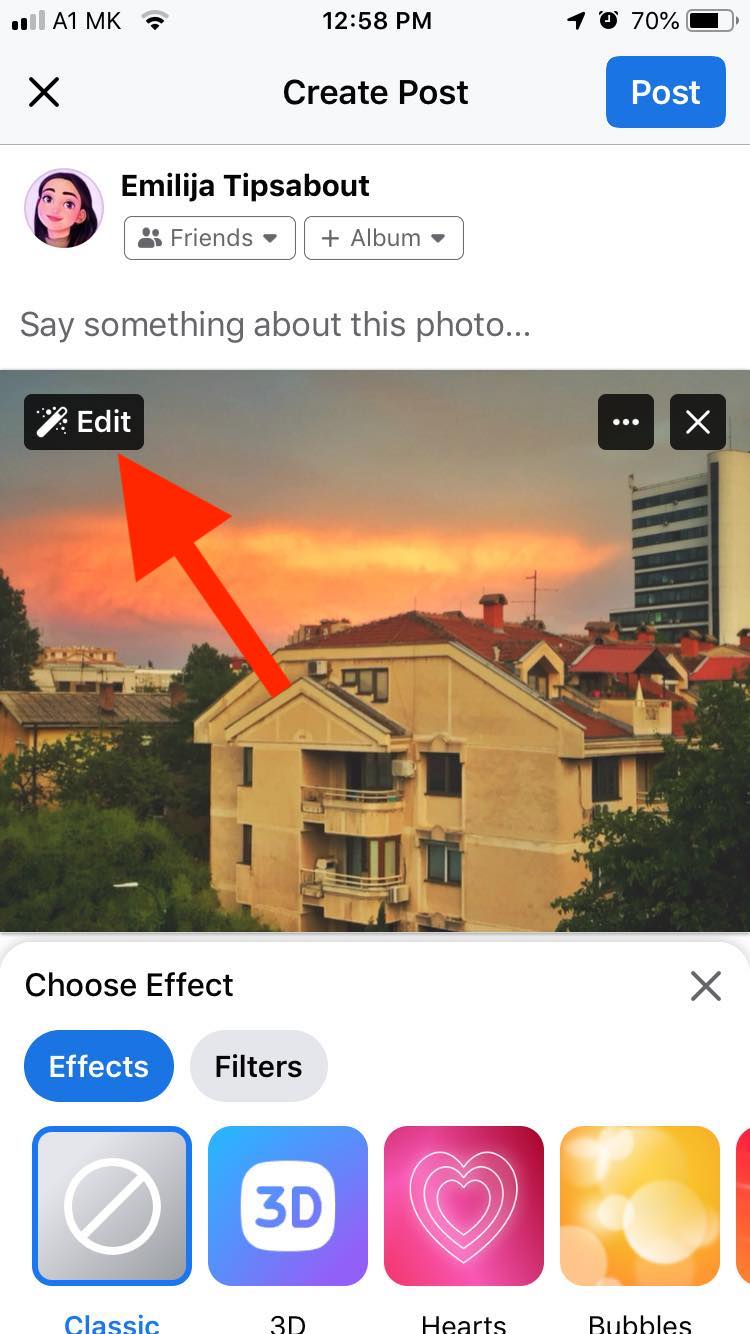
- Tap on the ‘music icon’.
![]()
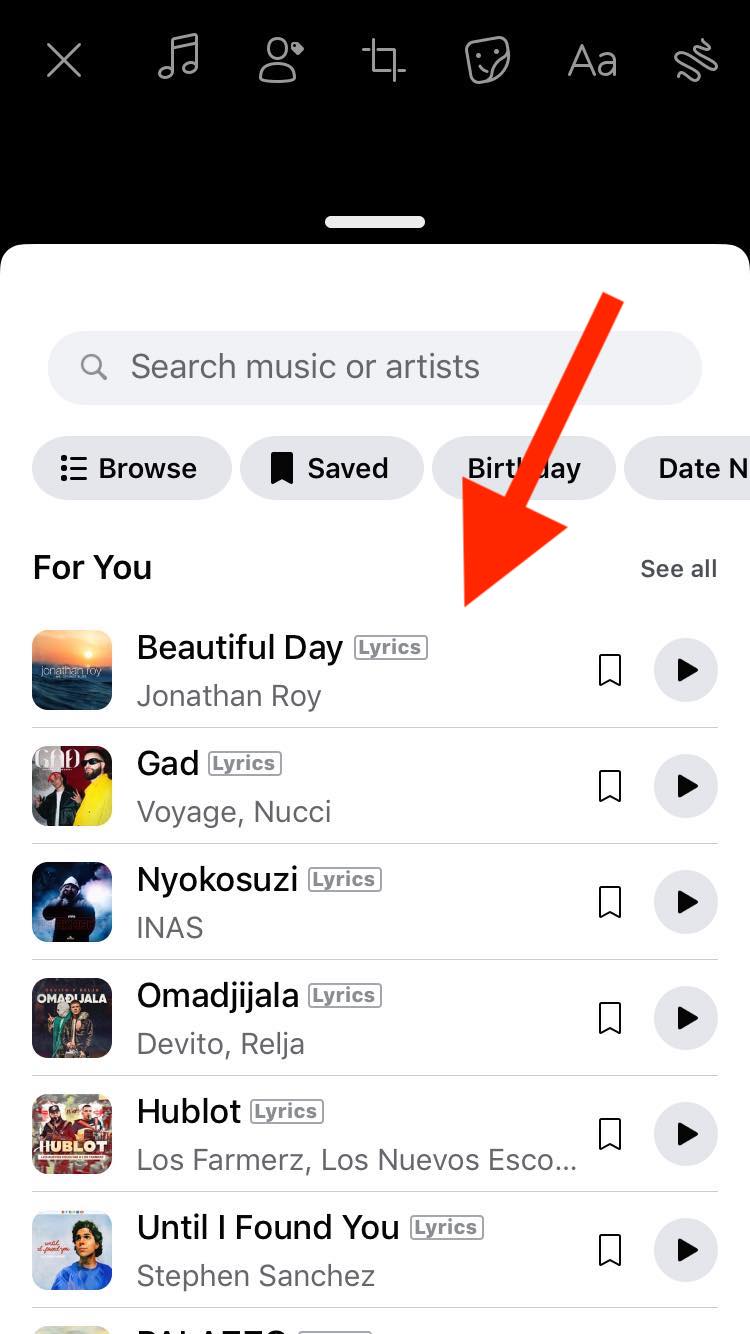
- Select a song from the list.
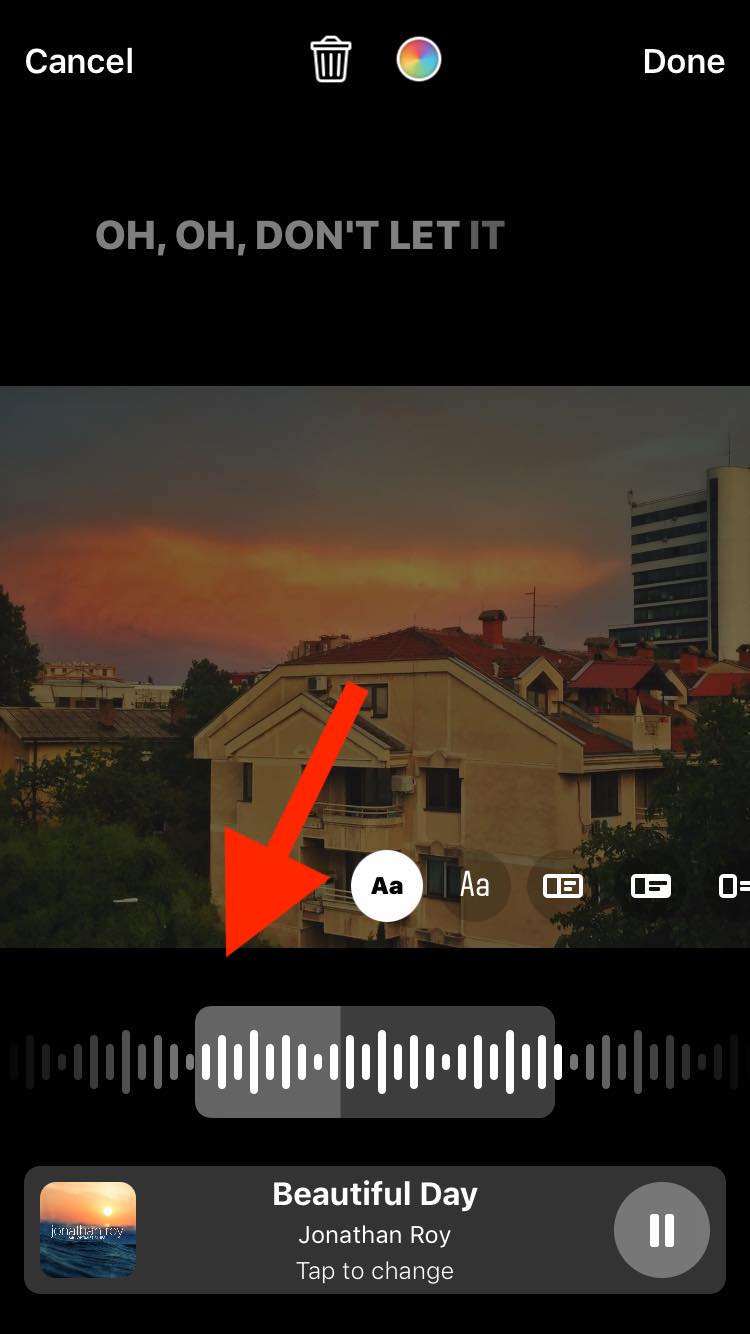
- Select the part of the clip you want to apply to your story by dragging the slider and tapping on ‘Done’.
The song will be automatically added to your Facebook post.
By default, Facebook will display the song's lyrics on users' posts, but users can select the option for showing the song's name instead of the lyrics. In addition, users can also change the color of the lyrics by tapping on the color wheel.
Once done, tap on Publish, and the post, along with the song of your choice, will be published on your News Feed and profile.
You can add songs to your Facebook profile using the process described above, and we will also address some of the most frequently asked questions regarding this feature in the second section of this article.
Also read: How to See Someone’s Friends on Facebook
How to add music to your Facebook story
Adding music to your Facebook story is another exciting feature that makes the whole “story” experience more amusing.
However, if you can’t find this feature, keep in mind that the option is still not available for everyone at this time.
- Open the Facebook app on your mobile.
- Tap on the ‘plus sign’ to create a story.
- At the top of the screen, swipe to the right and tap on the music icon.
- Select your favorite song.
- Drag the slider left or right to select a clip from the song, then tap ‘Done,’ and the song will appear in your story.
If you tap, you can change the style, hold it to move it, or rotate it and change its size with two fingers. Once done, just tap ‘Share to story’.
Also read: How to See All Birthday Wishes on Facebook
How to add music to a Facebook story before you record a video
- Open the Facebook app on your mobile.
- Tap on the ‘plus sign’ to create a story.
- At the top of the screen, swipe to the right and tap on the music icon.
- Select your favorite song.
- Drag the slider left or right to select a clip from the song.
- Tap the triangle icon to start and record the video.
- Tap the square icon to end your recording. The song clip will appear in your story.
- Tap on the ‘Share to story’ option.
👉 Check out also how to share Wordle on Facebook.
Wrapping Up
We can all agree that adding music to our social media content makes it more engaging, fun, and imploring.
The social media pioneer, Facebook, continuously incorporates new features based on the trends and interests of its users.
Adding music to posts is a feature many users enjoy, and it's effortless to use.
If you weren’t familiar with this feature before, use this guide to learn how to use it properly.