How to Lock Photos on MacBook [Password Protect Your Images]

Cameras are one of the most used parts of our phones; consequently, the galleries on our phones are filled with private photos that occupy a considerable part of our phone memory.
For this reason, many of us transfer photos from our phones to our computers to free up more space. In addition, some users have their phones synced with their laptops to achieve better flexibility when accessing files from different devices.
As good as this sounds, it means that other people who might use our laptops can also see all the files we've transferred, including the photos.
We need to protect our private photos from being viewed by others, which is why adding a layer of privacy is beneficial.
This is especially needed among iPhone users whose iPhones are synced with their Mac computer.
So, to learn how to lock photos on a Mac computer, keep reading.
How to password protect photos on MacBook
One way to protect your photos on a Mac computer is by using Disk Utility to create encrypted disk images.
The process might seem a bit complicated at first glance; however, the steps will quickly guide you through the whole process.
First thing: Make sure to place the images in a folder first.
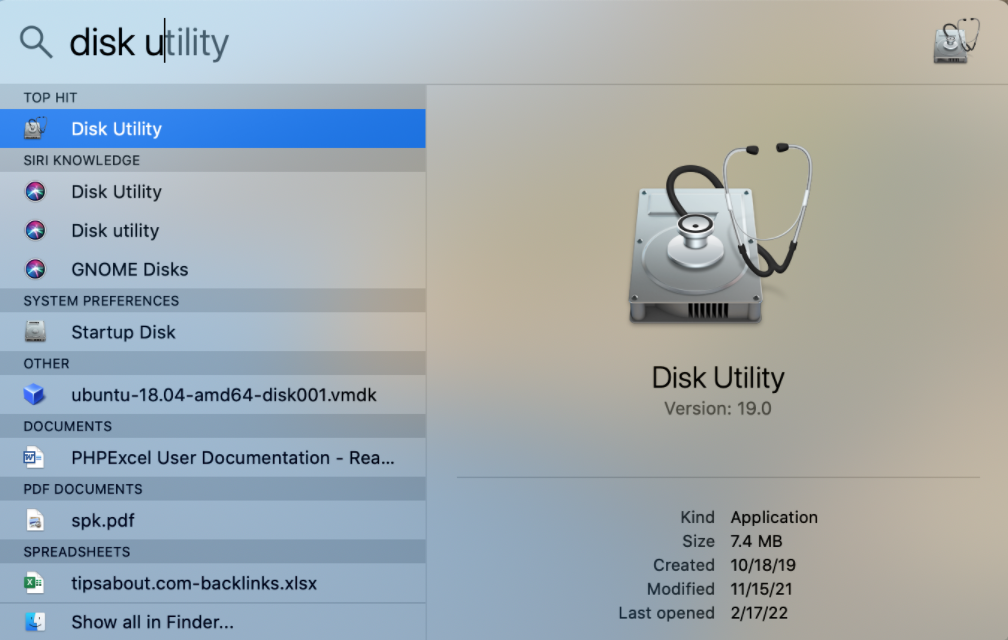
- Press Cmd + Space, type in Open Disk Utility and click on Disk Utility to open the program.
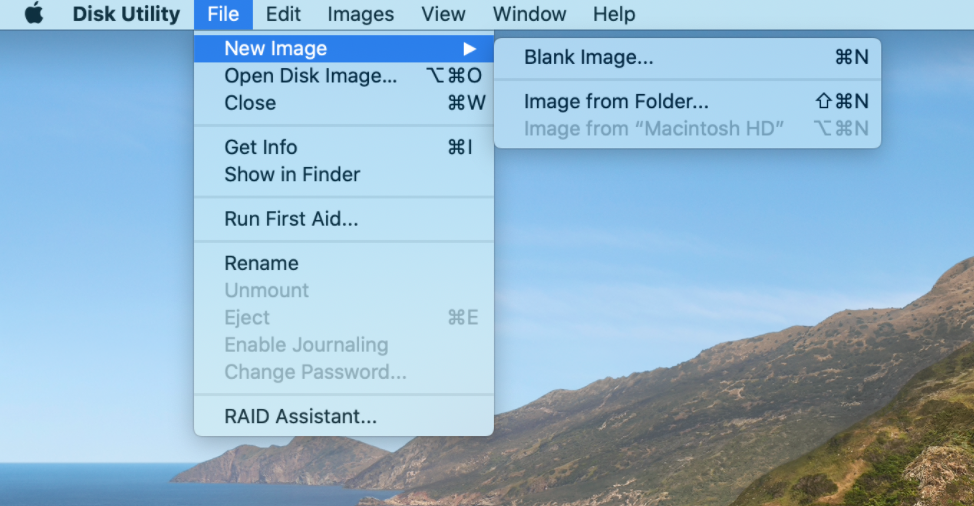
- Click on the File menu, then click on ‘New image’, and click on ‘Blank Image’.
- Type a name in the ‘Save As field’ and type in the same name in the ‘Name’ field.
- Change the save destination by clicking on the drop ‘Where’ down menu.
- Ensure that the format is APFS; Partitions is Single partition- GUID Partition Map, and the image format should be a sparse disk image.
- From the Encryption menu, choose the 256-bit AES Encryption.

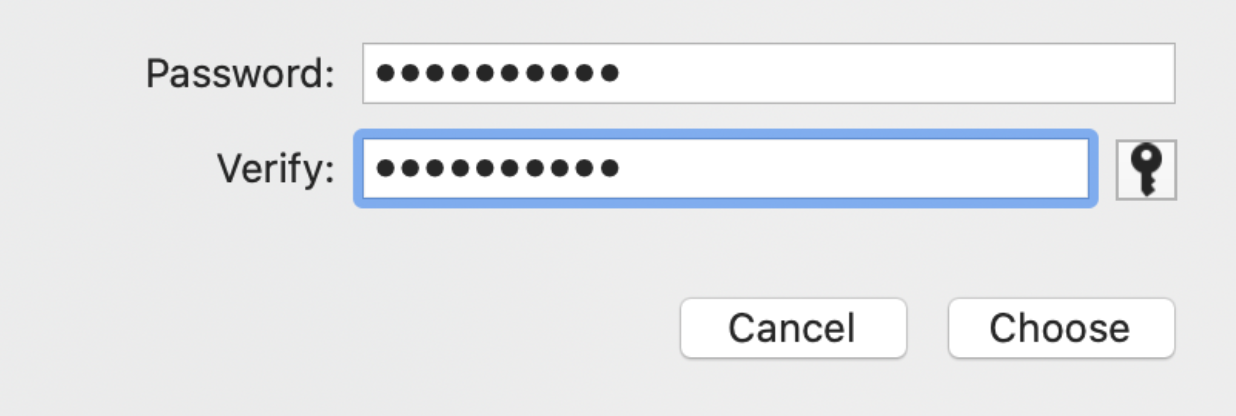
- Set a password.
- Click on ‘Choose’.
- Choose the Size and click on ‘Save’.
- Click on the password-protected disk image and enter your password.
- A new image will appear in the location where you have saved the image. Click on it and place the pictures folder that you want inside.
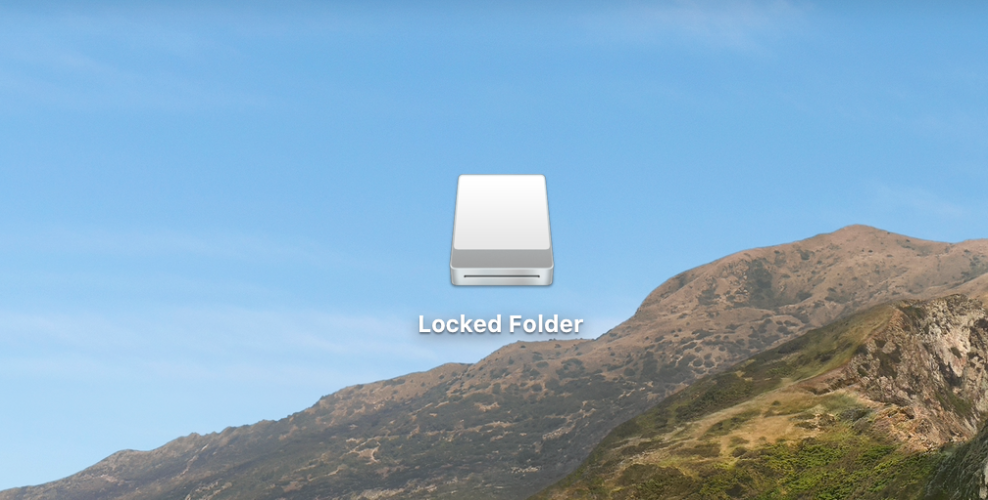
- From the left-hand menu, select Locked Folder and click on ‘Eject Locked Folder.’
That’s it!
To access the password-protected file, click on the disk image and enter the correct password.
Bonus: Check out our detailed step-by-step guide on how to open multiple stickies on Mac.
How to hide photos on your Mac
In case the first method seems too complicated, another thing you can do to protect your photos is to hide them.
- Open Photos.
- Select the photo or video that you want to hide.
- Control-click the photo, then choose ‘Hide Photo’.
- You must confirm that you want to hide the photo or video.
If you use iCloud Photos, all your hidden photos will be hidden on every device.
How to unhide photos on Mac
- Unhide photos on Mac
- Open ‘Photos’. In the menu bar, choose View > Show Hidden Photo Album.
- Select ‘Hidden’ from the sidebar.
- Click on the photo or video that you wish to unhide.
- Control-click the photo, then choose ‘Unhide Photo’.
Find out how to also lock your camera on your Macbook.
.jpg)