How to Crop a Screenshot on Mac
-(2)-profile_picture.jpg)
If you want to capture part of your Mac screen to show what you are seeing to someone or demonstrate an on-screen activity, you can easily take a screenshot.
However, if you only need a portion of the screen, or you want to hide some sensitive information, Mac offers the option to crop your screenshots. In this post, we’ll show you how to crop a screenshot on Mac in several different ways.
How to crop a screenshot on Mac using the built-in cropping tool
The easiest method for cropping a Mac screenshot is using the built-in screenshot cropping tool.
After you take a screenshot using the keyboard shortcuts Command + Shift + 3 (to capture a full screenshot) or Command + Shift + 4 (to capture a portion of your screen), follow the step below to crop the screenshot:
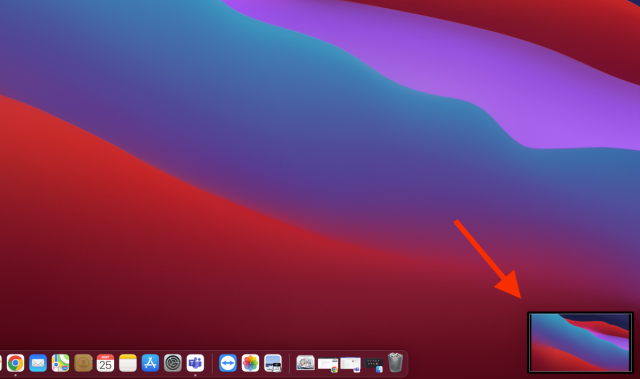
- A floating thumbnail of the screenshot will appear in the bottom-right corner of your screen - click on it.
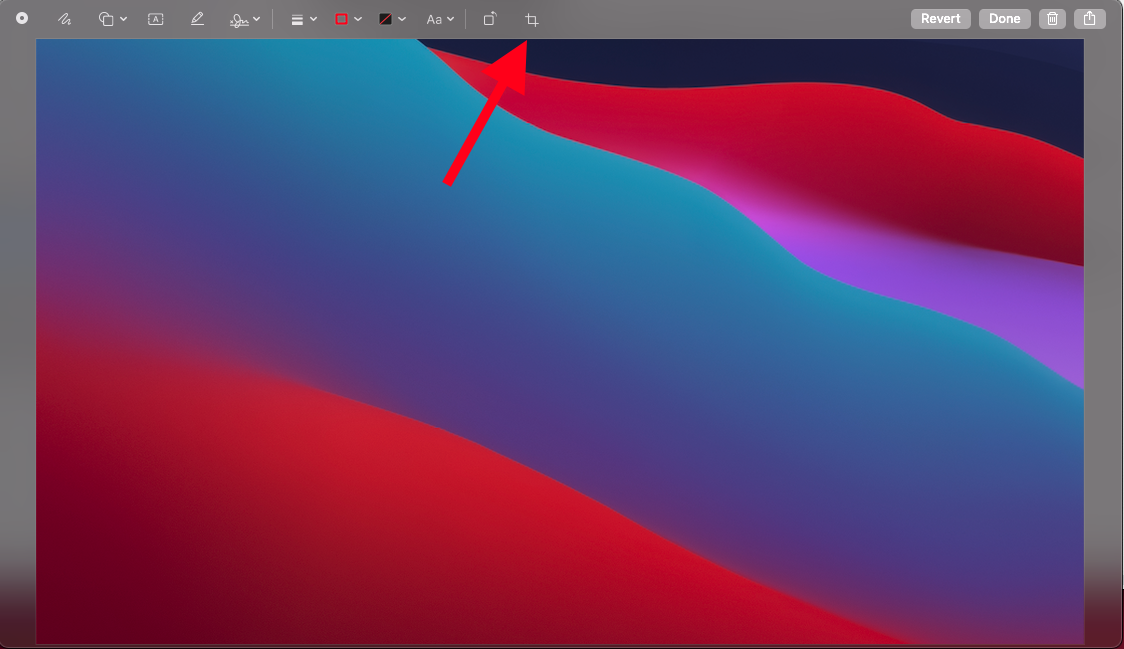
- A cropping tool window will open.
- Click on the ‘Crop’ icon in the top-right corner.
- Drag the crop handles of the screenshot to select the area of the screenshot you want to keep.
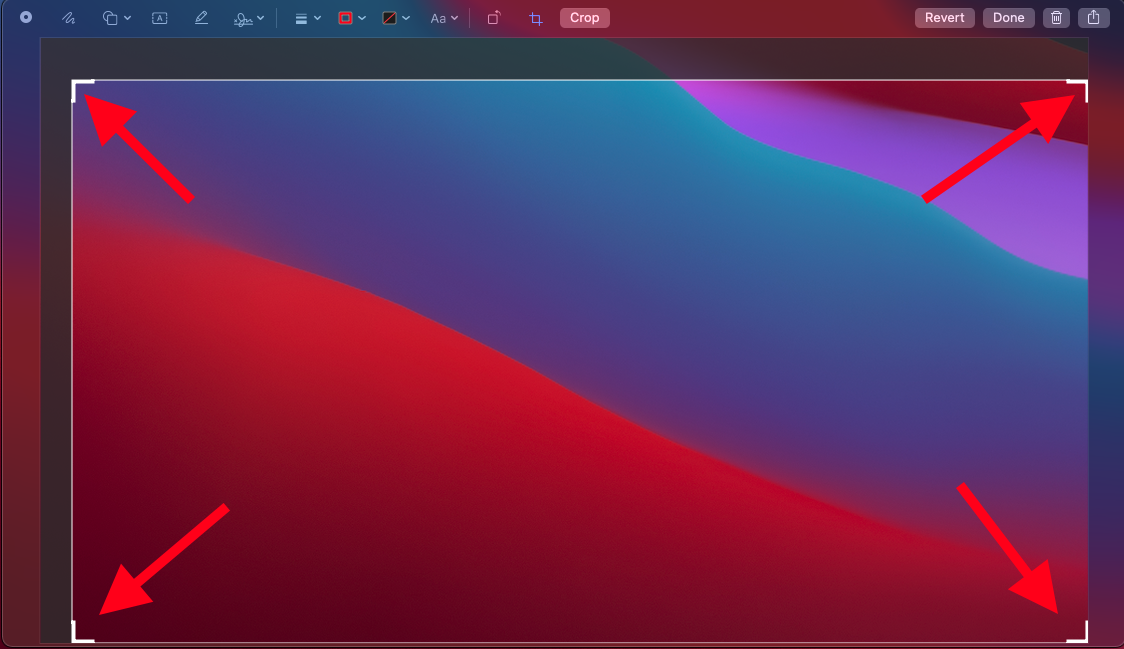
- Click on ‘Done’ to save the cropped screenshot image.
If you don’t see a thumbnail appearing at the bottom of the screen, you can access the cropping tool in another way:
- After you take the screenshot, wait until it appears on the screen.
- Click on it to open it.
- Then drag the cursor to select the area you want to keep.
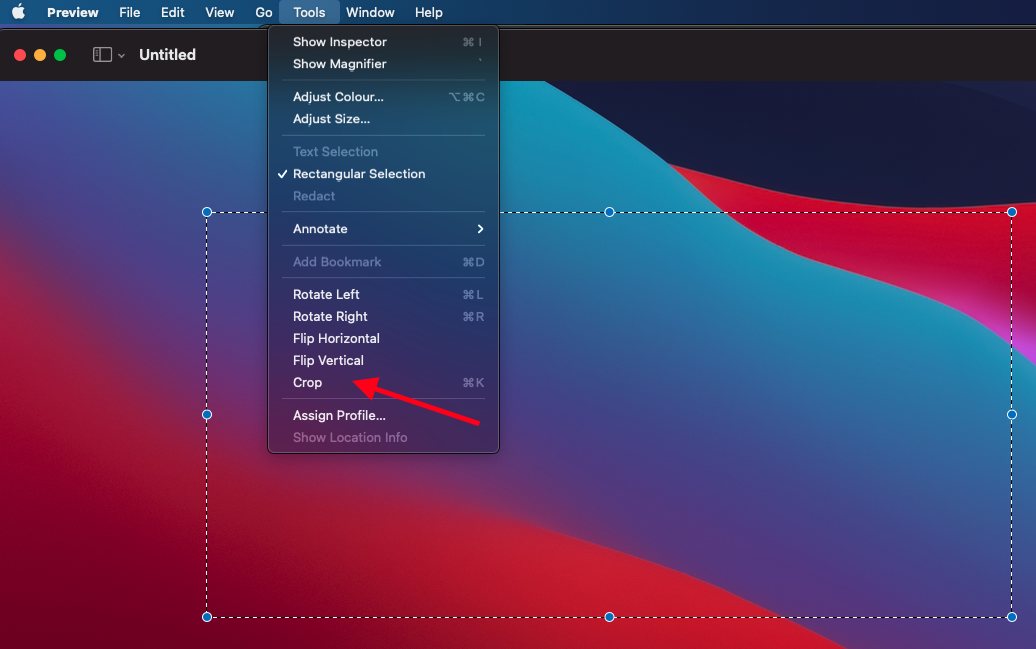
- Next, go to Tools > Crop.
- When you have the desired screenshot image, navigate to File > Save to save it.
Additionally, you can access the crop tool with Quick Look.
- Click on an image and press the space bar.
- Click on the pencil icon in the top-right corner.
- Next, select the ‘Crop to selection’ button.
- Drap the crop handles to select an area to keep.
- If you’d like to undo the changes, select ‘Revert’ at the top right corner next to Done.
- Click on ‘Done’ in the top-right corner to save the cropped screenshot.
How to crop a screenshot on Mac using the Preview app
You can also use the Preview app to crop a screenshot on Mac.
The Preview app is used to open image files like JPG and PNG, various documents, and edit PDFs. It also offers photo editing and markup features, including a cropping tool.
To crop a screenshot with the Preview app:
- Double-click on an image and it will open it in the preview app by default.
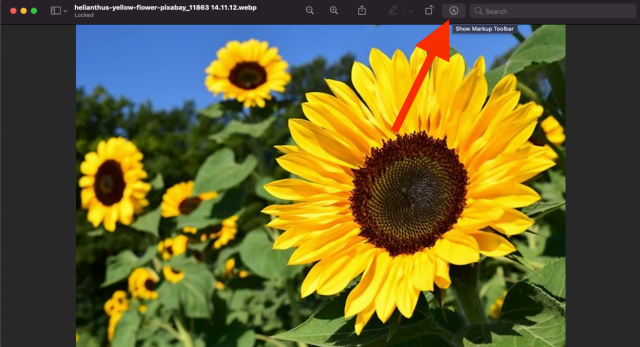
- Click on the ‘Show Markup Toolbar’ icon in the top-right corner. Note: On a Mac running Big Sur, it’s the button shaped like a pencil tip, while on other macOS versions, it’s the button with the toolbox icon).
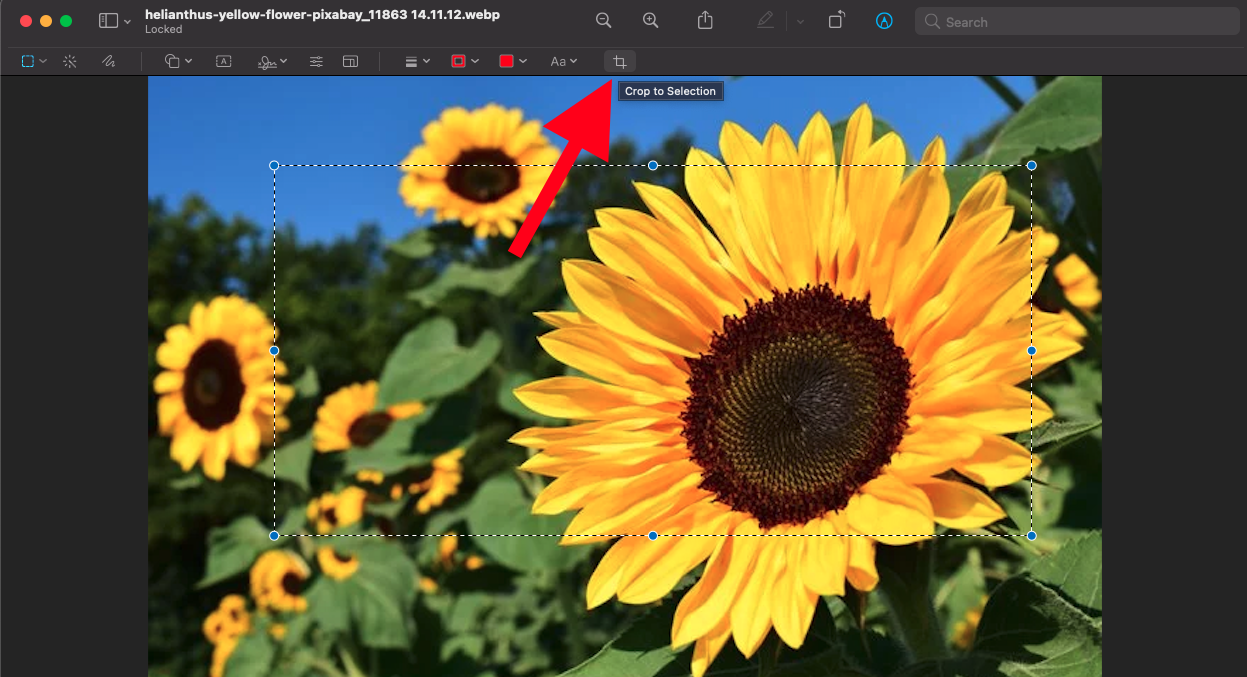
- Click and drag on the screenshot to create an area you want to keep. You can also drag the blue dots at the border to resize it.
- Next, go to Tools > Crop to crop the screenshot. Alternatively, click on the ‘Crop to selection’ button.
Bonus read: How to delete screenshots on Mac.
How to crop a screenshot on Mac using the Photos app
The Photos app is the built-in Mac tool for managing and organizing your photos, but it also offers basic editing tools for resizing, cropping, zooming, creating GIFs, warping and even collaging your photos.
Here’s how to use the Photo app to crop a screenshot:
- Right-click on an image and select ‘Open With’.
- In the window or menu, select ‘Photos’. Note: If you don’t see Photos in the context menu, go to Open with > Other and find Photos from the apps list.

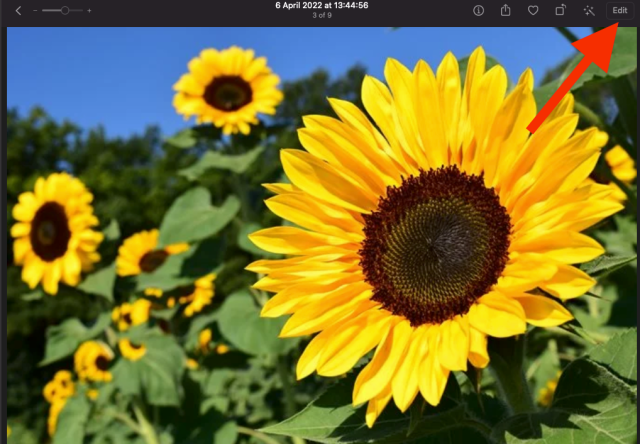
- After your screenshot opens, click on ‘Edit’ in the top-right corner of the screen.
- Next, click on the ‘Crop’ button.
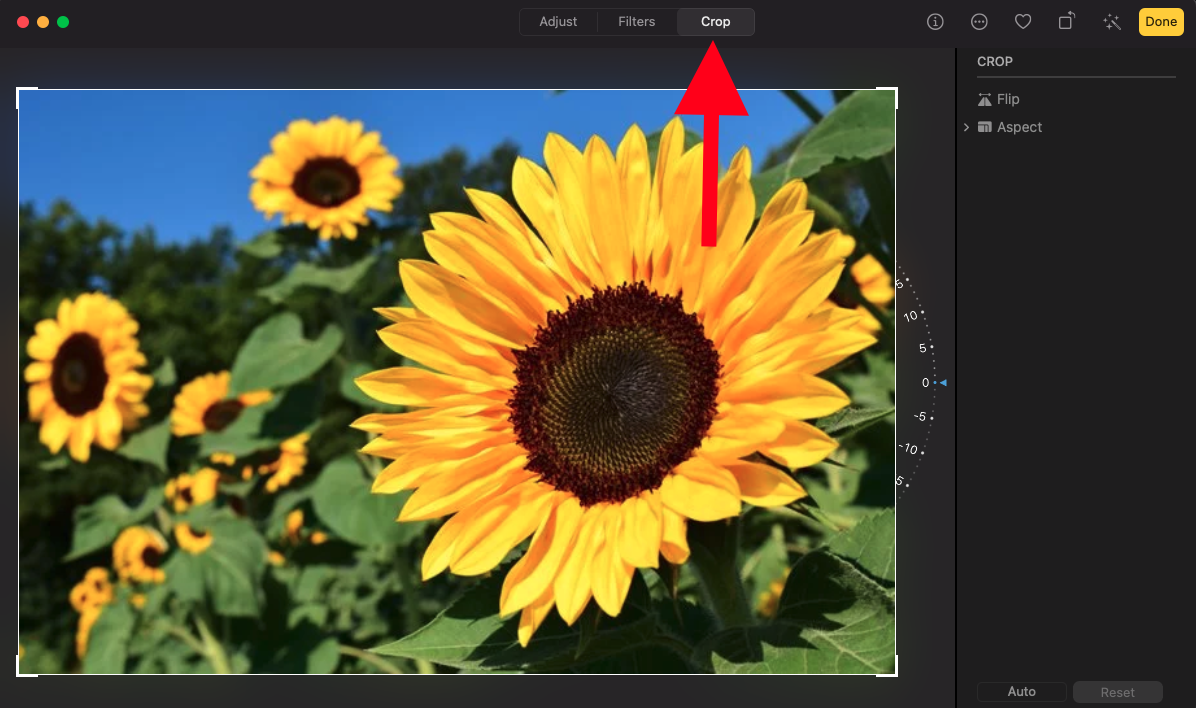
- Drag the crop handles to crop the screenshot.
- If you’re not happy with the changes or want to redo them, select ‘Revert to Original’ in the top left corner.
- Finally, click on ‘Done’ to save the cropped screenshot.
How to crop a screenshot on Mac using third-party tools
Besides the built-in tools for cropping screenshots on Mac, you can use a number of third-party apps to edit screenshots, which you can find in the Photo & Video section in the App Store.
Some of the popular apps are Adobe Lightroom, Polarr Photo Editor, Pixelstyle Photo Image Editor, etc. Each editing tool has slightly different editing tools.
For the purpose of this article, we’ll show the cropping steps in the Polarr Photo Editor:
- Open the editor and click File > Open.
- Select the screenshot you wish to crop.
- Click on the crop icon on the left side.
- Select the area you want to keep.
- Select the ‘Save Photo’ icon to save the screenshot.
You can also find similar snipping tools online if you don’t want to download any apps. Some of the most used tools you can use to crop a screenshot on Mac are IMG2Go, Picresize, ResizeImage and Cropp.me
If you also like to learn how to record screen on Mac with audio, check out our guide on that.