How to Activate Slack Grammar Check

Slack is among the most used platforms in workplaces, since it allows real-time messaging, meaning communication has a better flow.
However, since Slack is mainly being used in workplaces, having perfect grammar is essential, especially when you’re typing in channels where the whole company can see your texts.
What would help you to make sure you bring your A-game when it comes to perfect grammar, is having a Slack grammar check extension.
Luckily, an AI-powered integration - ‘Perfect Tense’ was created for Slack specifically, and it works wonders when it comes to perfecting your grammar.
‘Perfect Tense’ uses AI to get to the context and meaning of a text in Slack by checking spelling and grammar, and gives feedback by notifying you which words contain errors in them.
Hence, if you need an extension to proofread your messages to make sure your grammar is immaculate on Slack, check out the article below to learn how to activate the Slack grammar check - ‘Perfect Tense’.
How do I activate ‘Perfect Tense’?
Before we dive into the step-by-step process, bear in mind that Perfect Tense is not a free integration. Perfect Tense comes at a price of $17 per month, and it can be used in browsers as well.
Unfortunately, several crucial elements are missing in this integration, such as a plagiarism checker, no free plan, and the installation is a bit complex.
Activating Perfect Tense
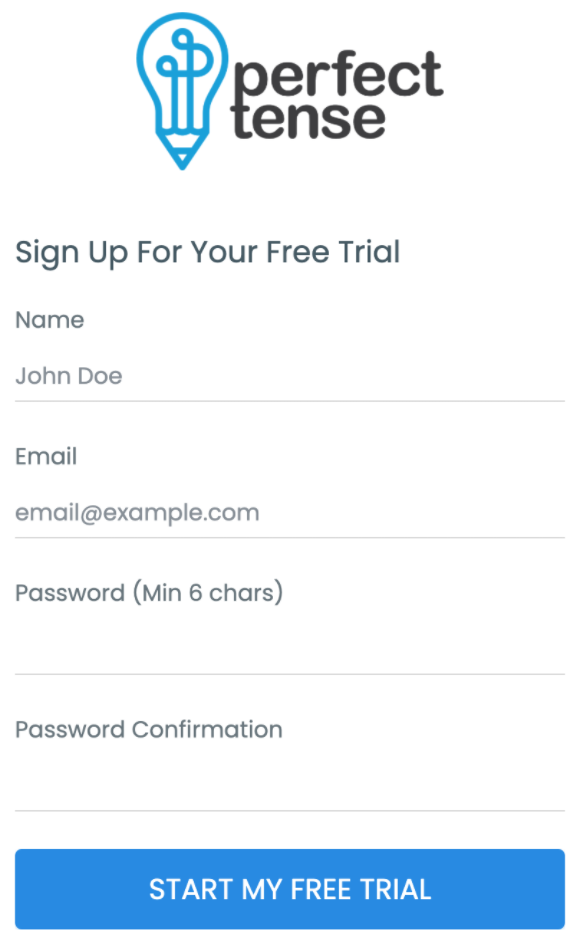
Before initiating the process of adding the ‘Perfect Tense’ to your Slack, you’ll need to sign up for one of their plans.

If you’d like to try out their 5-day free trial, you’ll need to create an account, and add your name, last name, password and confirm the password to proceed.
Next, you’ll need to enter your payment info in order to start the free trial.
Integrating the Slack app and Perfect Tense grammar checker
- Make sure both your Zapier and Perfect Tense accounts are set up. (Zapier is used to connect both apps into one)
- Log into the account on Zapier’s website, and click on the ‘Slack’ logo in the right-hand corner.
- Click on the ‘Connect an Account’ button, which will redirect you to your Slack in order to give Zapier permission.
- Next, select the private channel where you want to connect the proofreader to.
- According to Zapier, it would be best for you to create a fake private channel, and use it as a test-run, to double-check if everything is functioning properly before you begin using it regularly.
- Within Zapier’s website, you’ll be able to send test messages (make an error on purpose, in order to test Zapier’s functionality).
- Zapier will give you feedback about how many errors were found, and after finishing this process, you’ll be notified ‘Your Zap is working.’ and you can click on ‘See it on your dashboard’ to finish the process.